
Did you know that over a third of adults in the U.S. report sleep issues? If you’re among the many struggling with sleep, understanding how to perform a sleep study at home could be a game-changer for your health. This guide will walk you through the tech setup for an at-home sleep study, empowering you to monitor your sleep patterns effectively. As you learn about the benefits and outcomes of these studies, you’ll feel more informed and in control of your sleep health journey. Whether you’re considering a sleep study for insomnia or simply want to better understand your sleep habits, this article will provide practical tips and insights. So, let’s dive in and make sleep work for you!
How Sleep Studies Work: A Quick Overview
A home sleep study can be an enlightening experience, bringing you one step closer to understanding your sleep patterns and potential sleep disorders, all from the comfort of your own bed. These studies, known as polysomnography, require you to wear a prescribed device that tracks various physiological signals while you sleep. This includes monitoring heart rate, breathing patterns, and oxygen levels, providing valuable insight into how well you sleep and whether you have any conditions such as sleep apnea.
When you decide to embark on a home sleep study, the process typically begins with a visit to a healthcare provider, who will evaluate your symptoms and determine the appropriate testing. You’ll receive a kit that includes all the necessary equipment, along with clear instructions on how to set it up. While some devices may seem complex, most are user-friendly and designed for easy at-home use. It’s important to follow the setup instructions closely to ensure accurate results; any mistakes in placement of sensors or other equipment could skew the data collected.
After the study, the data is reviewed by a sleep specialist who assesses your sleep patterns and identifies any issues. The beauty of at-home sleep studies lies in the convenience they offer. You can sleep in your own environment, which may lead to more natural results compared to in-lab studies, where different noises and the presence of sleep technicians might disturb your typical sleep behavior. This ease of access makes home studies a popular choice for many individuals seeking to understand their sleep health without the added stress of overnight stays in a clinic.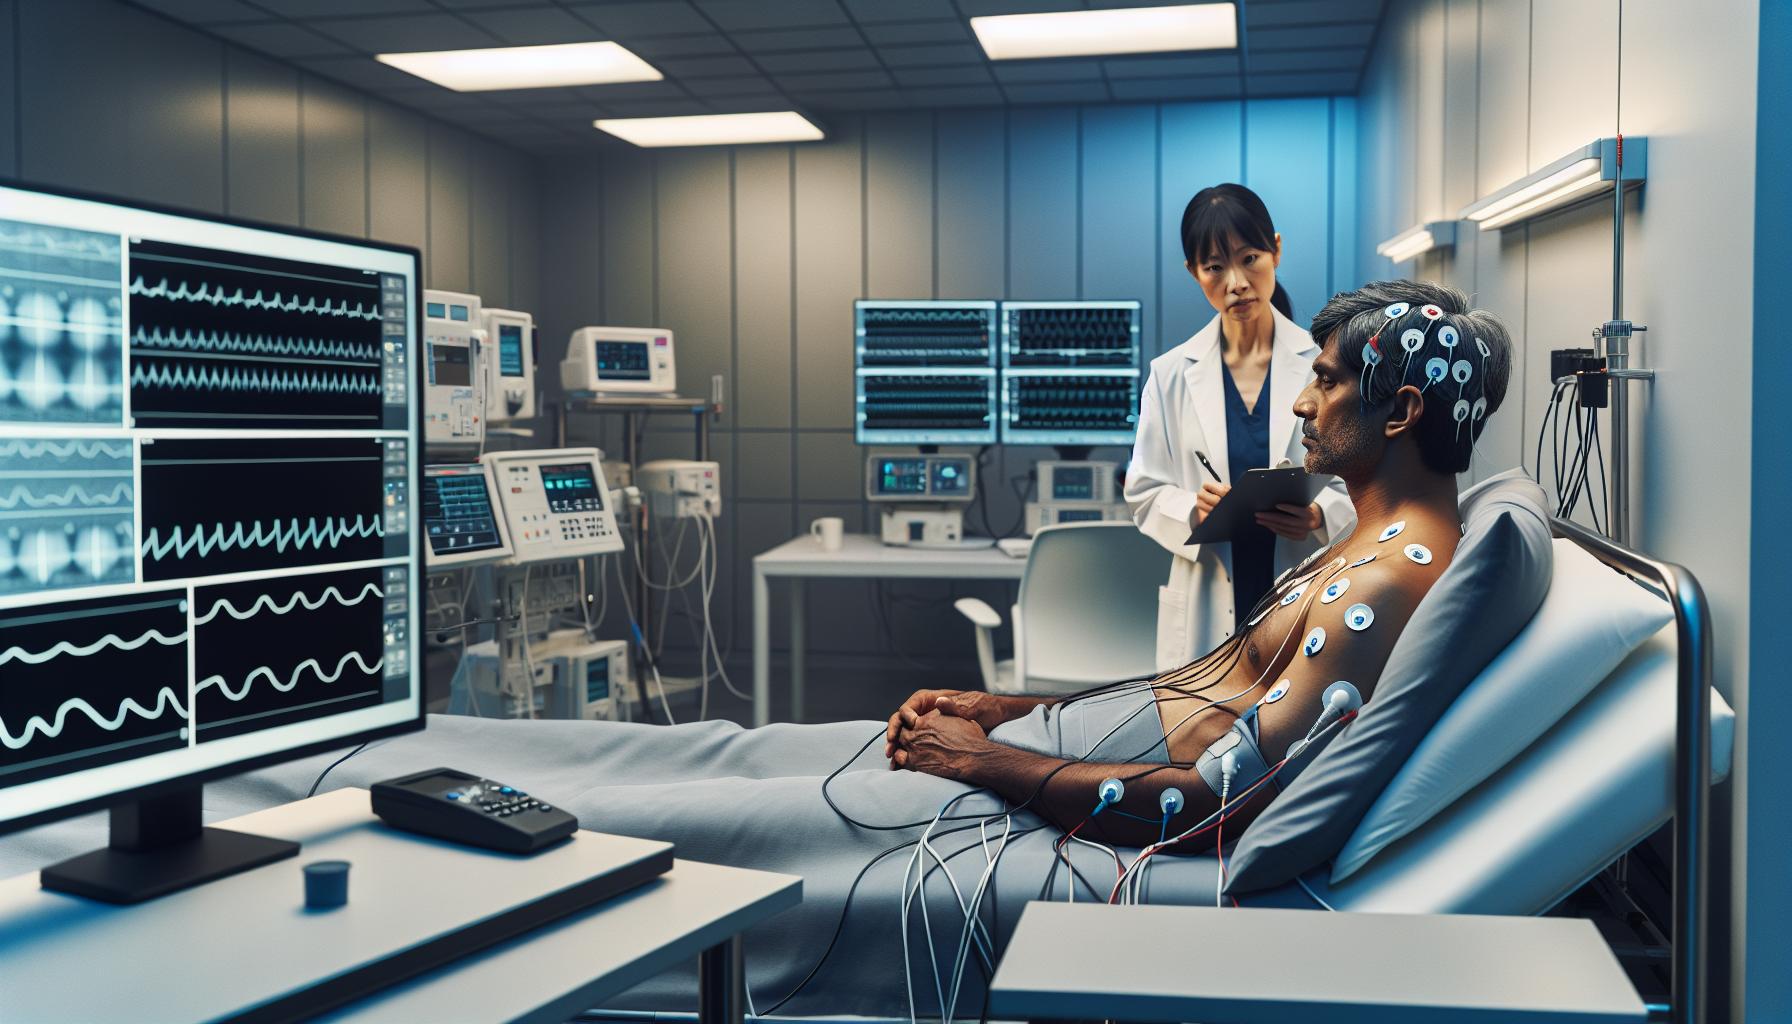
Benefits of Home Sleep Studies vs. In-Lab
A compelling advantage of home sleep studies is the unparalleled comfort they provide. Unlike in-lab studies, which require you to sleep in a clinical setting with unfamiliar sounds and potentially disruptive staff, home studies allow you to monitor your sleep in your own bed. This environment can lead to more representative data, offering insights into your true sleep patterns without the stress of an overnight clinic stay. Many people find that they sleep better at home, leading to more reliable signals regarding their sleep health.
Additionally, home sleep studies typically come at a lower cost than their in-lab counterparts. While in-lab testing can be quite expensive, often running into thousands of dollars, home tests can be more budget-friendly, making them more accessible for a wider range of people. Insurance companies are increasingly favoring home sleep tests as a first-line diagnostic tool, recognizing their efficacy in detecting conditions like obstructive sleep apnea (OSA) without the hefty price tag associated with laboratory assessments [[3]].
Setup for home sleep monitoring is usually straightforward. You’ll receive a compact kit that often includes sensors for your chest, wrist, and finger, along with clear instructions designed for ease of use. This user-friendly approach means you can focus on getting good sleep rather than fussing with complicated machinery. A well-designed home sleep test can track vital signs such as oxygen levels, heart rate, and snoring, giving healthcare providers a solid overview of your sleep during the night [[2]].
In summary, opting for a home sleep study offers significant benefits: from comfort and cost savings to ease of setup. These factors empower individuals to take charge of their sleep health in a way that feels less intimidating and more personal.
Essential Equipment for Home Sleep Monitoring
To successfully conduct a home sleep study, having the right equipment is essential for effective monitoring and accurate results. Most home sleep study kits are designed for ease of use and provide a comprehensive view of your sleep health while allowing you to sleep in the comfort of your own bedroom.
Typically, the equipment for home sleep monitoring includes a variety of sensors that track vital physiological data. The most common components found in these kits are:
- Pulse Oximeter: This small device clips onto your fingertip to monitor your blood oxygen levels throughout the night, crucial for detecting disorders like sleep apnea.
- Chest and Abdominal Straps: Worn like a belt, these straps measure your breathing patterns, tracking how often you breathe and the depth of each breath.
- Wrist Sensor: Worn on your wrist like a watch, this device can track your heart rate and overall movement during sleep.
- Monitor Unit: This central device collects data from the sensors and often connects to an app or computer to provide you with an overview of your sleep patterns.
Understanding how to set up these devices correctly is key for obtaining accurate data. Most kits come with detailed instructions and user-friendly interfaces to guide you through the process. It’s often as simple as placing the sensors on your body as indicated and ensuring that the monitor unit is secure.
Before your study, familiarize yourself with the devices to ease any anxiety about technology. A simple practice run can help you feel more comfortable. Remember, the goal is to gather quality data without the stress of complicated machinery. By ensuring that all devices are properly connected and calibrated, you’ll be better equipped to capture the nuances of your sleep experience, leading to more effective analysis and recommendations from your healthcare provider.
With a clear understanding of the essential tools at your disposal, you’ll be positioned to take a proactive step toward improving your sleep health and addressing potential disorders.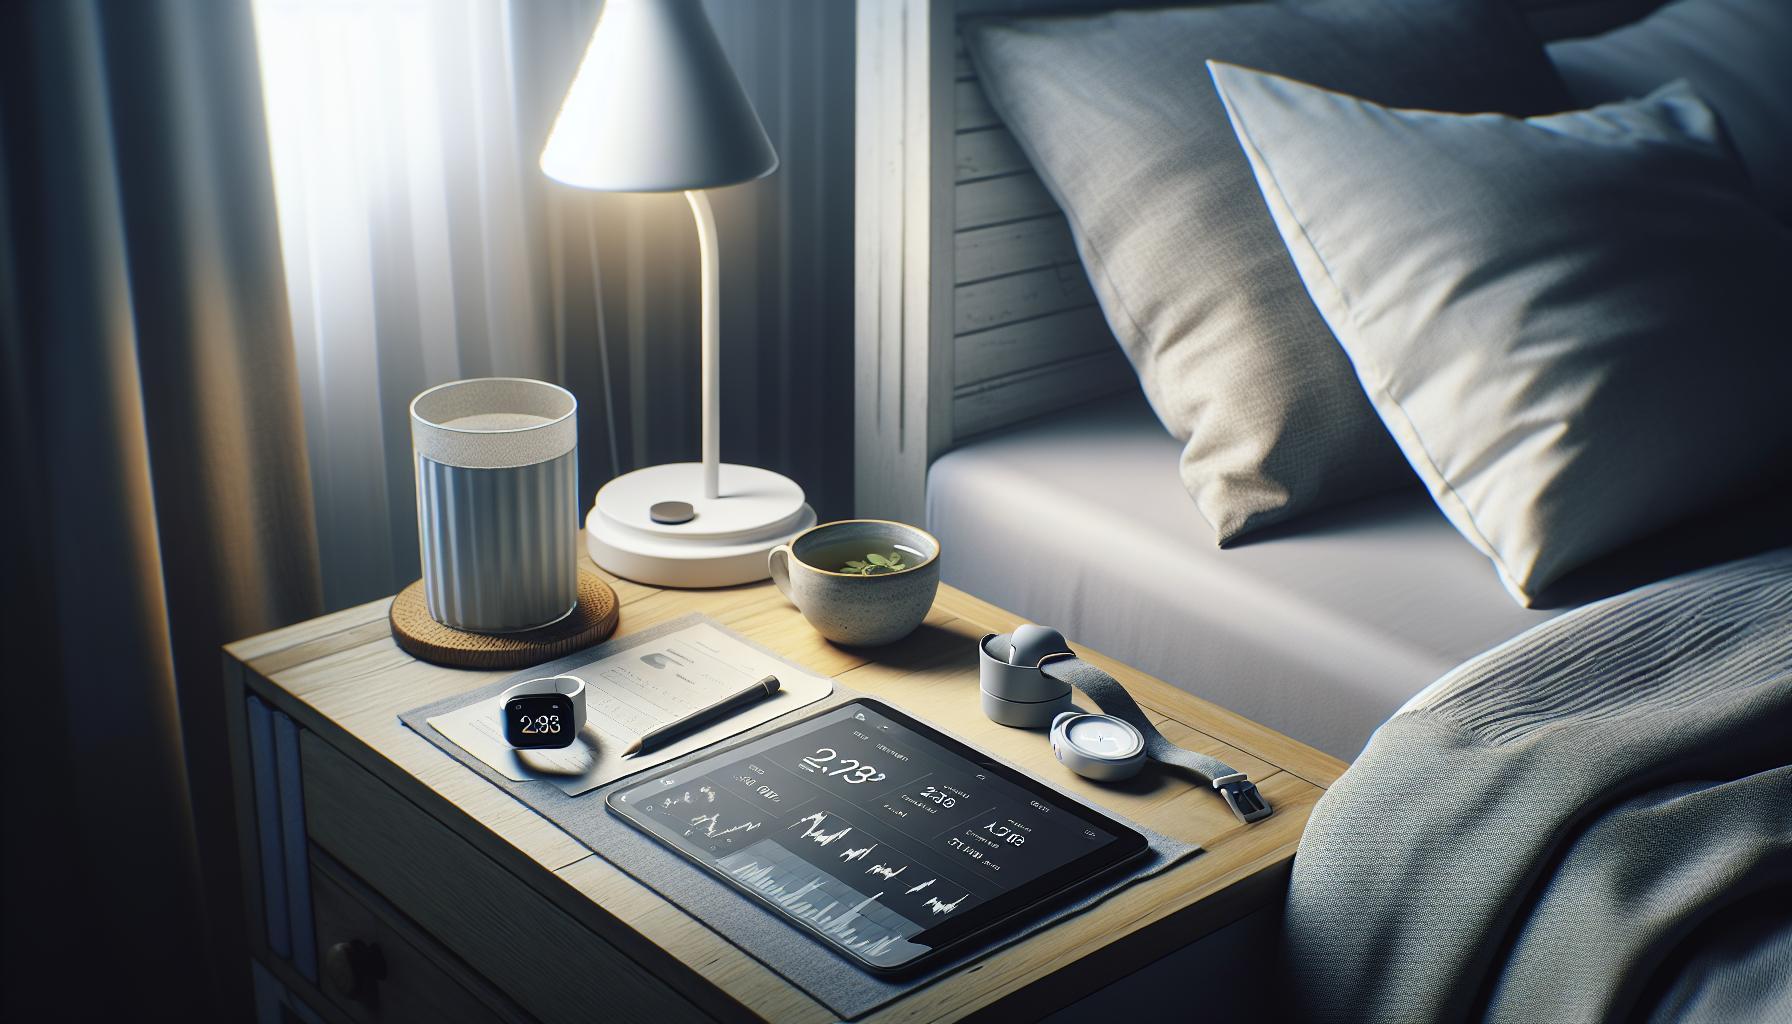
Step-by-Step Guide to Setting Up Sleep Tech
Preparing for a home sleep study can seem daunting, but with the right approach, you can set up your sleep tech with confidence. Start by gathering all necessary components from your home sleep kit, usually including a pulse oximeter, chest and abdominal straps, wrist sensor, and a monitor unit. Knowing what each part does will help you understand how to position them correctly for optimal data collection.
To set up your sleep tech effectively, follow these simple steps:
Step 1: Charge Your Devices
Before you begin, make sure all devices are fully charged or plugged in. This prevents mid-study interruptions and ensures maximum functionality throughout the night.
Step 2: Test the Equipment
Once everything is charged, take some time to familiarize yourself with each device. For instance, practice how to clip on the pulse oximeter and adjust the straps. This will help alleviate anxiety when it’s time to go to bed. An easy trial run can also help you identify any discomfort or functional issues early on.
Step 3: Follow the Instructions
Each kit typically comes with detailed instructions. Pay close attention to how to position the sensors. For the pulse oximeter, place it on your fingertip to monitor oxygen levels, while the chest and abdominal straps should fit snugly around your torso to track breathing patterns. Wearing the wrist sensor correctly, similarly to a watch, will help gather heart rate and movement data during your sleep.
Step 4: Set Up the Monitor Unit
The monitor unit acts as the central hub that connects to your sensors. Ensure it’s placed in a secure location and that all sensors are properly synced before you go to bed. If your kit includes an app, download it to your smartphone to aid in real-time data review and understand your sleep stages better.
Step 5: Create a Comfortable Sleep Environment
Before settling in, establish a conducive sleep environment. Dim the lights, lower the noise, and keep your bedroom at a comfortable temperature. This helps reduce distractions and anxiety, allowing you to sleep more soundly during your study.
With these straightforward steps, you can successfully set up your sleep tech at home, paving the way for accurate insights into your sleep health. Always remember that troubleshooting tips for any device-related issues can usually be found in the kit’s guide; don’t hesitate to consult these resources if needed. Empower yourself by taking this proactive step in managing your sleep health!
Common Sleep Conditions Detected at Home
Many people may not realize that common sleep conditions can be effectively detected through home sleep studies. These studies are increasingly popular due to their convenience and accessibility, allowing individuals to monitor their sleep patterns in the comfort of their own beds. From sleep apnea to insomnia, understanding the conditions that can emerge during a home sleep study is crucial for anyone concerned about their sleep health.
One of the most prevalent sleep disorders identified in home sleep studies is obstructive sleep apnea (OSA). This condition occurs when the airway becomes intermittently blocked during sleep, leading to periodic interruptions in breathing. Symptoms often include loud snoring, gasping for air during sleep, and daytime fatigue. Home devices equipped with a pulse oximeter can monitor oxygen levels, providing critical insights into episodes of apnea or hypopnea, offering immediate feedback on your sleeping state.
Periodic limb movement disorder (PLMD) is another condition that can be detected through home monitoring. This disorder involves involuntary repetitive movements of the legs or arms during sleep, often disrupting the sleep cycle and resulting in daytime drowsiness. A wrist sensor can help track these movements, providing detailed data that illustrates the frequency and duration of these involuntary actions.
Insomnia is also frequently managed through home studies. While it may not have the same physical markers as sleep apnea or PLMD, tracking sleep duration, interruptions, and overall sleep quality can uncover underlying issues contributing to sleeplessness. Understanding patterns-like time taken to fall asleep or frequency of awakenings-can guide you and your healthcare provider to appropriate treatment options.
Lastly, restless legs syndrome (RLS), which causes uncomfortable sensations and an urge to move the legs, can also be monitored effectively at home. This condition can significantly interfere with the ability to fall asleep and stay asleep. Using wearable technology, individuals can gather data about leg movements and disruptions, presenting this information to their doctor for further evaluation.
With the ability to identify these conditions, home sleep studies empower you to take charge of your sleep health. By paying attention to your sleep patterns and discussing findings with a healthcare professional, you can better understand your sleep-related issues and explore tailored interventions that promote restful nights.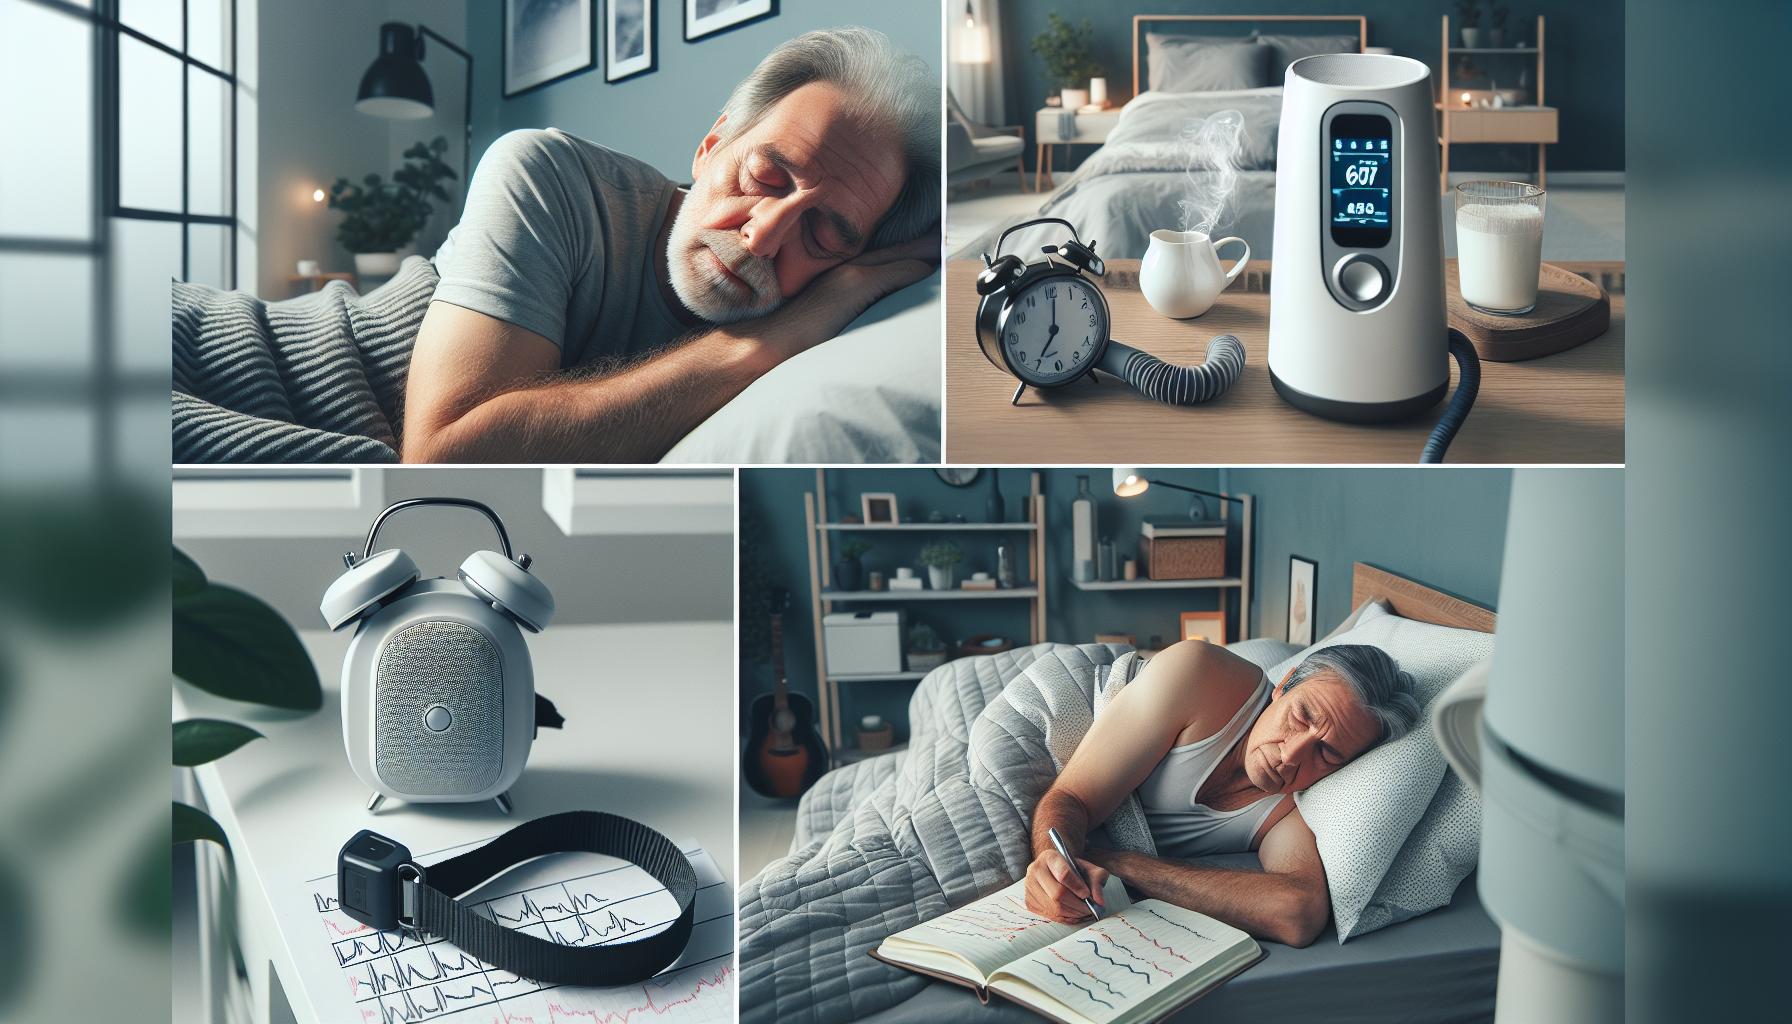
Interpreting Your Home Sleep Study Results
Interpreting the results of your home sleep study can feel overwhelming, but understanding the key metrics can empower you to take charge of your sleep health. As you sift through your data, focus on a few crucial components that highlight your sleep patterns and potential disorders. A common measure you’ll encounter is the Apnea-Hypopnea Index (AHI), which quantifies the number of apnea (complete stoppages of breath) and hypopnea (partial blockages) episodes per hour of sleep. An AHI of less than 5 is considered normal, while scores of 5 to 15 indicate mild obstructive sleep apnea, 15 to 30 suggest moderate, and over 30 is classified as severe.
Other vital figures to consider are your oxygen saturation levels and the percentage of time spent in different sleep stages. Ideally, oxygen levels should stay above 90%. Frequent dips can indicate significant breathing issues during sleep, such as sleep apnea. Likewise, understanding the breakdown of your sleep stages-light sleep, deep sleep, and REM sleep-can reveal valuable insights into the quality of your sleep. Tools like wearable technology can show you how long you spend in each stage and help correlate this data with your daytime alertness and overall mood.
It’s also important to review any other symptoms noted during the study, such as snoring patterns, body movements, and periods of wakefulness. For instance, if your device recorded multiple leg movements or interruptions in your sleep due to discomfort, those could indicate conditions like restless legs syndrome or periodic limb movement disorder.
Lastly, don’t hesitate to reach out to a healthcare professional for guidance. Present your findings and openly discuss any concerns. They can help you interpret the data in context and suggest tailored interventions or treatments based on your specific sleep issues. This collaboration can lead to effective strategies that enhance your sleep quality and overall well-being.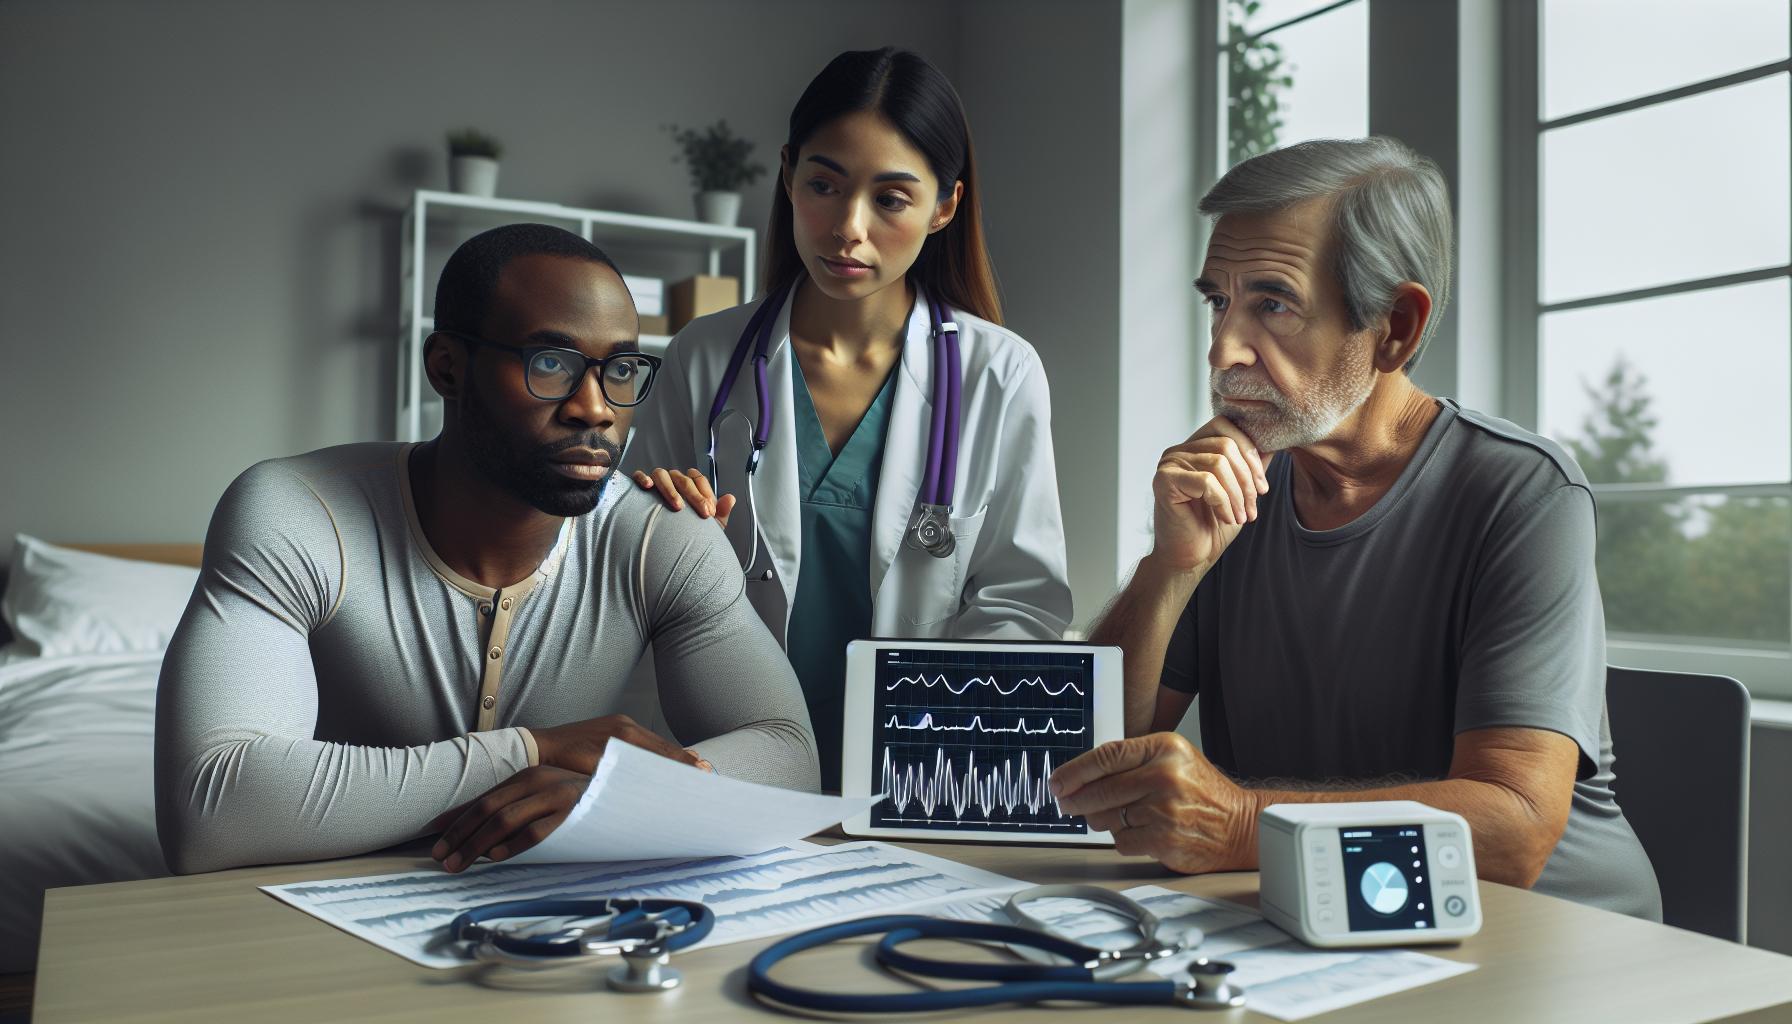
Troubleshooting Common Issues with Sleep Devices
When embarking on a home sleep study, many users encounter technical hurdles that can derail their testing experience. Understanding how to troubleshoot these common issues is crucial to ensuring accurate results and maximizing the potential benefits of sleep monitoring technology. Whether you’re struggling with device setup or interpreting the data collected, a few simple solutions can often resolve your concerns.
One frequent issue is related to device calibration and setup. Make sure to thoroughly read the user manual before your sleep study begins. Follow the setup instructions precisely to avoid malfunctions. For example, if your device requires sensors to be placed on certain body parts, ensure they are clean and well-attached. Poor contact can lead to inaccurate readings. If you find that the device isn’t functioning correctly during your trial run, don’t hesitate to contact customer support for assistance; they can often guide you through troubleshooting specific problems.
Another common problem is issues with data connectivity. Many sleep monitoring devices rely on Bluetooth or Wi-Fi to transfer data to your smartphone or cloud-based system. Check that your device is adequately charged and within range of your router or smartphone during setup. If the device fails to connect, consider restarting both the sleep device and your smartphone. Additionally, ensure that your app is updated to the latest version, as updates often include necessary patches for connectivity issues.
It’s normal to feel anxiety about the accuracy of your sleep data, especially after an initial test. If you suspect inconsistencies, take note of any environmental factors during the study night, such as noise or light disruptions. These factors can skew your results. If multiple attempts at recording data yield similar unusual patterns, reach out to a healthcare professional. They can help evaluate your findings and determine if it’s time for a more extensive study in a clinical setting.
Lastly, battery life can be a hassle during overnight testing. Many sleep devices may not last through the night on a single charge. If your device is rechargeable, ensure it’s fully charged before your study night. If it runs on batteries, check that they are new and properly installed. For ongoing issues, consider keeping a power bank handy for other devices that support continuous monitoring throughout the night.
By proactively addressing these common challenges, you can ensure that your home sleep study goes as smoothly as possible, leading to more accurate insights about your sleep health and better-informed discussions with your healthcare provider.
Insurance and Cost Considerations for Sleep Studies
Navigating the financial aspects of sleep studies can feel overwhelming, especially when you’re eager to uncover the mysteries of your sleep health. Understanding what you’re likely to pay and how insurance coverage fits into the picture is crucial. Home sleep studies typically cost between $150 to $500, depending on the device used and the provider. This is often less than traditional in-lab studies, which can range from $1,000 to $3,000, but these figures can vary widely by geographic location, diagnostic complexity, and facility fees.
It’s essential to check with your insurance provider regarding coverage. Many insurers recognize the value of home sleep studies for diagnosing conditions like sleep apnea. However, coverage might differ based on your specific plan. Here’s a useful checklist for navigating this process:
- Contact Your Insurance Company: Ask about your policy’s specifics. Inquire whether home sleep studies are covered, potential co-pays, or deductibles you may be responsible for.
- Get Pre-Authorization: Some insurance providers may require pre-approval for testing. Make sure to understand this process to avoid unexpected out-of-pocket expenses.
- Inquire About In-Network Providers: Using in-network providers typically lowers your costs, so confirm which sleep study services are covered.
Cost isn’t just about the initial outlay; consider the expenses related to ongoing support or follow-up consultations, which are vital for interpreting results and making treatment decisions. If your insurance denies coverage, ask for clarification. You can appeal their decision or look for payment plans with providers that offer flexibility to manage costs over time.
Investing in home sleep monitoring equipment can provide valuable insight into your sleep patterns. However, expenses can add up, especially if opting for wearable tech or additional services. Devices can cost anywhere from $50 for basic wearables to upwards of $300 for advanced models. Weigh these expenses against the potential benefits, such as improved sleep quality and overall well-being.
With the right information and a proactive approach, you can alleviate some worries associated with costs, empowering you to take the first steps toward improving your sleep health.
Wearable Tech: Best Devices for Sleep Tracking
In today’s fast-paced world, the ability to monitor your sleep health has become more accessible than ever, thanks to advancements in wearable technology. Devices like fitness trackers and smartwatches not only help you count steps but can also track sleep patterns, offering insights into your nightly rest. The allure of these gadgets lies in their convenience and ease of use, making them a popular choice for those looking to understand their sleep better without the need for a formal sleep study.
When choosing a wearable for sleep tracking, it’s essential to consider what each device offers. Popular options include the Fitbit Charge series, Apple Watch, and Oura Ring. Each device provides a variety of features, such as heart rate monitoring, sleep stage analysis, and even environmental factors like noise levels. For instance, the Fitbit Charge can record different sleep stages-light, deep, and REM-helping you deduce whether you’re getting restorative sleep. Meanwhile, the Oura Ring is renowned for its accuracy and in-depth analysis, focusing on readiness and sleep quality. Here’s a brief comparison:
| Device | Average Cost | Sleep Features | Battery Life |
|---|---|---|---|
| Fitbit Charge 5 | $150 | Sleep stages, stress management | Up to 7 days |
| Apple Watch Series 8 | $400 | Sleep tracking, heart rate, irregular rhythm | Up to 18 hours |
| Oura Ring | $300 | HRV, sleep stages, daytime readiness | Up to 7 days |
Setting up these devices for sleep tracking is typically straightforward. Most wearables come with user-friendly apps that guide you through the process. After wearing the device for a night, you can sync it with your smartphone to view detailed sleep data. Consider wearing your device snugly but comfortably, ensuring that it stays in place throughout the night. Remember, while wearables provide valuable data, they might not fully replace a professional sleep study, especially if you suspect significant sleep disorders.
As you explore your options, remember to evaluate what specific features are most relevant to your sleep analysis needs. Whether it’s tracking your sleep cycle or understanding how your lifestyle influences sleep quality, wearable tech can be a valuable tool in your journey to better sleep health.
Understanding Sleep Stages: What to Look For
Understanding how sleep stages work can empower you to make informed decisions about your sleep health, especially when performing a home sleep study. Sleep is not a uniform state; it cycles through different stages that play unique roles in your overall well-being. Recognizing these stages allows you to evaluate the quality of your rest and understand any potential sleep disorders.
During a typical night, you cycle through several stages of sleep, primarily categorized into Non-Rapid Eye Movement (NREM) and Rapid Eye Movement (REM) sleep. NREM sleep is further divided into three stages: N1 (light sleep), N2 (moderate sleep), and N3 (deep sleep). Each stage serves different functions, such as physical restoration or memory consolidation. For instance, N3 is crucial for repairing tissues and muscles, while REM sleep is when most dreaming occurs and is essential for emotional regulation. Many sleep trackers and at-home devices can provide insights into the percentage of time spent in each stage, helping you gauge whether you are getting restorative sleep.
When evaluating your sleep data from wearable devices, look for key metrics such as the duration of each sleep stage and the transitions between them. Aim for a balanced distribution: adults generally require about 20-25% of sleep time in REM and around 13-23% in deep sleep. If your data indicates an excessive amount of light sleep and insufficient deep or REM sleep, it may signal underlying issues such as sleep apnea or insomnia, which could warrant a follow-up with a sleep specialist.
To enhance your sleep quality, consider employing specific strategies after reviewing your sleep stages. Maintaining a consistent bedtime, creating a comfortable sleep environment, and limiting screen time before bed can all improve your ability to reach deeper sleep stages. If after tracking your sleep you suspect your portable device is not giving you the full picture of your sleep health, don’t hesitate to consult with a professional for a more comprehensive analysis.
When to Seek Professional Help After a Study
It’s important to recognize the signs that indicate you should seek professional help after completing a home sleep study. If the results from your monitoring device give you pause, or if you experience symptoms that affect your daily life, consulting a healthcare provider is a proactive step. For example, persistent daytime sleepiness despite feeling you had a good night’s rest, or episodes of gasping for air during sleep, are red flags often associated with conditions like sleep apnea.
Key Indicators for Professional Consultation
When evaluating your sleep data, look for specific patterns or numbers that could signal a deeper issue. These might include:
- Excessive Daytime Drowsiness: If you find yourself struggling to stay awake during the day, it may be a sign that your nighttime sleep isn’t restorative.
- Frequent Awakenings: Waking up multiple times throughout the night can disrupt sleep cycles and suggest underlying issues such as anxiety or sleep disorders.
- Severe Snoring: Loud, disruptive snoring that could be accompanied by pauses in breathing should prompt an evaluation, as it may point to sleep apnea.
- Unusual Sleep Patterns: If your wearable device indicates you’re consistently getting less than the recommended hours of sleep, or if the quality of your sleep stages appears abnormal, it’s smart to check in with a professional.
Consulting a Sleep Specialist
Once you’ve assessed your sleep data, consider scheduling a visit with a sleep specialist if you notice any concerning patterns. During your consultation, bring your sleep study results, and be prepared to discuss your sleep habits, lifestyle factors, and any symptoms you’ve experienced. This information can help the specialist provide personalized recommendations, which may include further diagnostic testing, lifestyle changes, or potential treatment options.
In summary, your health and well-being are paramount, and there’s no harm in seeking guidance if you’re unsure or anxious about your sleep health. Sleep issues can often be effectively addressed once diagnosed, paving the way for a more rested, healthier life.
Tips for Improving Sleep Quality Post-Study
Improving your sleep quality after completing a home sleep study is crucial to ensure you can harness the insights gained from the monitoring. Implementing some effective strategies can help enhance your sleep patterns and overall restfulness, leading to better health outcomes.
One of the first steps is to create a consistent sleep schedule. Going to bed and waking up at the same time every day helps regulate your body’s internal clock. This consistency encourages your body to develop a natural rhythm, making it easier to fall asleep and wake up feeling refreshed. Pair this with creating a calming bedtime routine, which could include activities like reading, gentle stretching, or taking a warm bath. Limiting screen time at least an hour before bed can also lower blue light exposure, promoting melatonin production for better sleep.
Optimize Your Sleep Environment
The environment where you sleep plays a significant role in the quality of your rest. Aim to make your sleeping space as conducive to rest as possible:
- Darkness: Consider blackout curtains to block out any light that might disrupt your sleep.
- Temperature: Keep your bedroom cool, ideally between 60-67°F (15-19°C), which is considered optimal for sleep.
- Noise Control: Use earplugs or a white noise machine if noise is a frequent disturbance.
- Comfortable Bedding: Invest in a quality mattress and pillows that suit your sleeping position and comfort preference.
Monitor Your Diet and Exercise
Careful attention to your diet and physical activity levels can greatly improve your sleep quality. Limit caffeine and nicotine consumption, especially in the afternoon and evening, as these stimulants can interfere with your ability to fall asleep. Instead, consider herbal teas or warm milk as a sleep-friendly alternative. Regular physical activity can also promote better sleep, but try to avoid vigorous exercises right before bedtime.
Finally, if you’re struggling with anxiety or racing thoughts at night, consider practicing mindfulness or relaxation techniques. Activities like meditation, deep breathing, or gentle yoga can significantly reduce stress levels.
By following these recommendations, you can make the most of the insights gained from your sleep study and take proactive steps toward enhancing your sleep quality for a healthier and more restorative nightly rest.
Q&A
Q: How do I choose the right home sleep study equipment?
A: To choose the right home sleep study equipment, consider your specific symptoms and the conditions you suspect. It’s essential to look for devices that can monitor vital signs like heart rate, oxygen levels, and brain activity. Consult your healthcare provider for recommendations tailored to your needs. For a comprehensive guide on essential equipment, check out the “Essential Equipment for Home Sleep Monitoring” section.
Q: What should I do to prepare for a home sleep study?
A: Preparing for a home sleep study involves following specific guidelines: maintain your regular sleep schedule, avoid caffeine and alcohol on the study night, and ensure your sleep environment is comfortable. Review the setup instructions for your device beforehand, as outlined in the “Step-by-Step Guide to Setting Up Sleep Tech” section.
Q: How long does a home sleep study typically take?
A: A home sleep study generally lasts for one night, although some devices may allow for extended monitoring. You’ll typically wear or attach the equipment before bed and remove it upon waking. For insights into what to expect, refer to the “How Sleep Studies Work: A Quick Overview” section.
Q: What factors can affect my home sleep study results?
A: Several factors can impact home sleep study results, including movement during sleep, improper device setup, or external disturbances like noise or light. Ensure optimal conditions and follow setup instructions closely to minimize these issues. For troubleshooting tips, check the “Troubleshooting Common Issues with Sleep Devices” section.
Q: Can I use multiple devices for a home sleep study?
A: Yes, using multiple devices can provide more comprehensive data. For instance, you might combine a wearable sleep tracker with a traditional polysomnography device. Ensure compatibility and focus on the specific metrics each device measures. Explore comparative insights in the “Wearable Tech: Best Devices for Sleep Tracking” section.
Q: What are the common misconceptions about home sleep studies?
A: Common misconceptions include the belief that home studies are unreliable or only for severe sleep disorders. In reality, they can effectively diagnose various conditions and are often more convenient than in-lab studies. For more clarity, refer to the “Benefits of Home Sleep Studies vs. In-Lab” section.
Q: How can I ensure accurate results in a home sleep study?
A: To ensure accurate results, follow the device setup instructions meticulously, create a conducive sleep environment, and maintain your regular sleep routine. Discuss any concerns about setup with your healthcare provider before the study. For more guidance, consult the “Interpreting Your Home Sleep Study Results” section.
Q: When should I schedule a follow-up after a home sleep study?
A: Schedule a follow-up with your healthcare provider 1-2 weeks after your home sleep study for results interpretation and discussion of next steps. Early follow-up can provide valuable insights into managing any identified sleep issues. For related guidance, see the “When to Seek Professional Help After a Study” section.
In Conclusion
Now that you have a clearer picture of how to perform a sleep study at home, take the next step toward achieving better sleep health. Remember, setting up your devices properly can make all the difference in getting accurate results. Don’t hesitate to explore our guides on understanding sleep stages and disorders, as well as tips on improving your sleep hygiene for better rest every night.
If you’re still unsure about your sleep health or the right technology for you, consider reaching out for a virtual consultation with our sleep experts. Knowledge is power, and equipping yourself with the right information about sleep studies and wearables can lead to significant improvements in your overall well-being.
Share your thoughts below, or connect with us on social media to join a community of others focused on enhancing their sleep health. Stay informed, and let us support you on your journey to better sleep!
Get our latest guides, news, and insights highlighted in your Google Search & AI Overviews.